Blog / Beginner & Intermediate Transfer Application Tips
Beginner & Intermediate Transfer Application Tips
Starting your journey with transfers can be exciting, but knowing a few tricks of the trade can make all the difference in achieving a flawless finish. Whether you’re just getting into custom apparel or have a bit of experience, these tips will help you navigate the process with confidence. Here’s a breakdown of key tips for beginner and intermediate crafters using Jiffy Transfers.
1. Ordering the Correct Size for Your Garment
One of the first steps in creating custom apparel is selecting the right transfer size for your garment.
- Tip: Measure a blank garment and plan your design layout. A common mistake is ordering transfers too large or too small for the fabric.
- Consider the location: chest, back, or sleeve, and scale your design to fit proportionately.
- After you upload your design to Jiffy, you can set your preferred dimensions. The aspect ratio will always be retained when you change either the length or the width, so that your image is never stretched or skewed.
The measurement (trimmed size) located at the top left of the image indicates the original size when it was uploaded. I have entered my preferred 11" width for the shirt I'm making, and it automatically scaled the length for me.

2. Unpacking, Care, and Storage
When your transfers arrive, proper handling is crucial to ensure they stay in perfect condition for application.
- Tip: Unpack your transfers carefully and lay them flat. Avoid folding them or leaving them in direct sunlight or high-humidity areas.
- Store them in a cool, dry place, and avoid exposure to moisture or extreme temperatures, which could affect their adhesive properties or print quality.
3. Prepping Your Blanks for Decoration
Before applying your transfer, your blank garment should be properly prepped to ensure the best adhesion.
- Tips: If you must wash your blank garments beforehand, do so without fabric softener. Press your garments for a few seconds to remove any wrinkles and moisture, which can interfere with the transfer.
- Ensure your workspace is free of dust, lint, or debris that could affect the transfer process. It is helpful to use a sticky lint roller over the area before pressing.

4. Heat Presses: Temperature, Pressure, and Timing
Getting your heat press settings right is one of the most important aspects of transfer application.
- Use the recommended temperature, pressure, and time for your specific transfer type. Jiffy will email you pressing instructions for each type of transfer you buy (they differ, so make sure you're using the right one!) You can also find them along the left hand side of each product page (as shown below).
Too much heat can burn the transfer, while too little heat or pressure might result in poor adhesion.

Our transfer product pages now also feature extra helpful How-To videos! This one is from our Standard DTF product page.
5. Variances in Fabrics
Different fabrics may require different settings to achieve optimal results.
- Tip: Cotton and cotton blends are the most forgiving fabrics for transfers, while polyester requires a lower temperature to prevent scorching or color migration. Keep this in mind before you press.
- For stretchy fabrics like spandex or lycra, ensure the transfer you’re using is compatible and adjust your pressure to avoid stretching the design too much.
6. Pressing, Cooling, and Removing the Film
Timing is everything when it comes to peeling the carrier sheet or film from your transfer.
- Tip: Some transfers require a hot peel, meaning you should peel the film immediately after pressing, but all Jiffy Transfers are cool peel, where you wait for the transfer to cool before removing the film.
- Test a small area first, and always peel slowly and steadily to avoid tearing or damaging your transfer.
7. Final Press to Cure
For the best durability, transfers benefit from a final press to ensure the design is fully adhered and cured.
- After removing the clear carrier sheet, give the design one last short press (3-5 seconds) with a parchment or Teflon sheet over it to seal the design and lock in the adhesive.
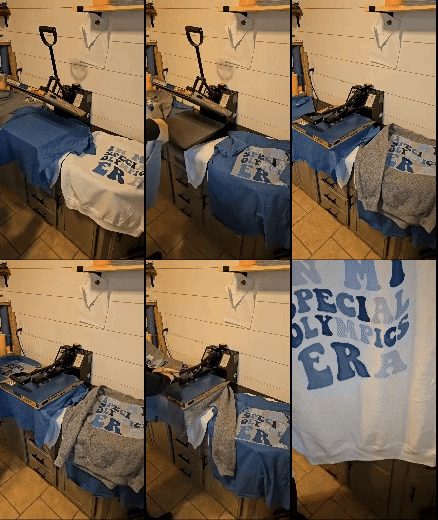
Efficiency Tip: If you're decorating a large number of shirts, you can still work efficiently using cold peel transfers. Press each shirt, then move it to the side, until you have a pile of shirts with the transfer film still attached. Then, remove each film one-by-one, returning each shirt to the platen for the final press to cure as you go.

8. Wear, Care, and Washing
Once your custom apparel is ready, it’s essential to follow proper care instructions to maintain the design’s quality over time.
- Tip: Always wash your garments inside-out on a cold cycle and hang dry to extend the life of the transfer. Avoid using bleach or fabric softeners, as they can deteriorate the design.
- If ironing is necessary, do so on the reverse side, avoiding direct contact with the design.
You're well on your way!
By following these tips, you’ll be well on your way to creating stunning, professional-grade custom apparel with Jiffy Transfers. And remember, practice makes perfect! Each time you apply a transfer, you'll gain more confidence and improve your technique.
For first-time Jiffy Transfers Buyers, use Code DTF20 at checkout to save 20% off your prints!

Browse all our transfer types at jiffy.com/transfers
Happy Crafting!

